Sunday, June 10, 2012

A Cake Fit for a Princess & My First Time with Fondant

I have a new found respect for cake decorators. I mean really. While I've always prided myself with being the artsy type there is a big difference between arts and crafts and creating things that are not only pretty to look at, but intended to be edible as well.

When Ava told me that she wanted a Rapunzel cake for her 5th birthday, I immediately thought about those dress cakes that my mom used to make me as a kid. My mom made it look so easy! I went out and bought Wilton's Wonder Mold and was shocked to discover that they still used the same dolls from the 1970's. Fortunately I was able to find a Barbie Rapunzel doll and figured I could engineer it somehow into the cake and all would be well. That was my first mistake.

At the end of Wilton's suggested baking time for the cake it had the consistency of a Jello mold. Not good. I let it bake for another 30 minutes and finally it was cooked through. My second rookie mistake was that I didn't factor for the cake not being as tall as the pan itself. What did that mean? That meant that Rapunzel's dress was going to hit mid-thigh unless I removed her legs or chopped off her ankles. Not cute. And while I briefly entertained the idea, I was not about to dismember a $20 Barbie doll.

My first Rapunzel cake was such a disaster that I didn't even take a picture. Come to think of it, I should have just so I could submit it to Cake Wrecks. It would've been a great addition to this post. So what now? Only hours remained until Ava's birthday and I had nothing to show for it besides a disaster of a kitchen and a husband that was seriously questioning my sanity. Most people at this point would've just bought some cupcakes and called it a day. But not me.

I decided to stick to what I know...well, somewhat. I was going to a layer cake and somehow make it look like Rapunzel. I drew a picture of Rapunzel and figured I could cut out all of the pieces in fondant, put it together like a puzzle and ta-da! That was my third mistake.

Fortunately for me and sweet little niece Ava, my last mistake was still salvageable and I was able to cover all of my errors with fondant. I didn't take a ton of pictures because, well, I was literally giving Rapunzel eyebrows just minutes before we ran out the door. 

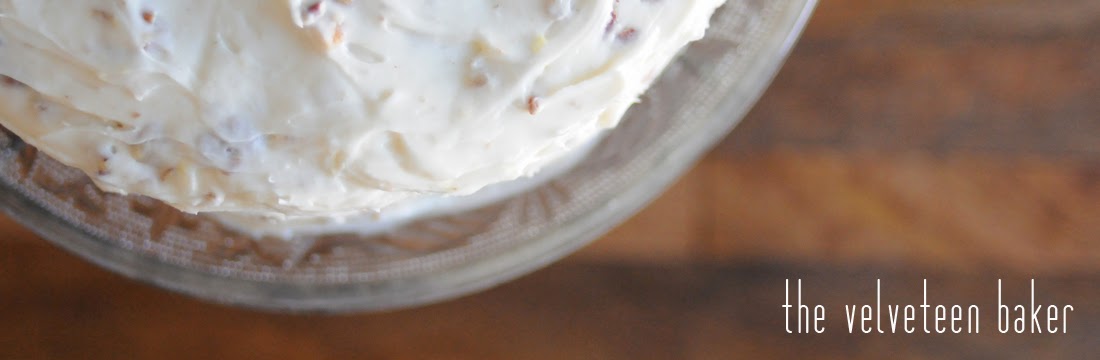
The final product was a two-layer strawberry cake with my standard cream cheese frosting (1lb powdered sugar, 1 stick of softened butter, 1 stick of softened cream cheese, 1t vanilla). Here is the cake recipe I used which I've made twice and its actually quite good. While it was quite the undertaking, it was well worth seeing the smile on Ava's face, especially after she told me that I am "the best cake baker ever."


Saturday, January 14, 2012

A Rustic, Owl-inspired Baby Shower with Lots of Sweets

Last weekend I was honored to be able to help host my dear friend Angela's baby shower. It was my first time hosting a baby shower, and it was a lot of fun! Since my wedding I've been mildly obsessed with dessert tables, and thought this would be a great opportunity to test my skills by creating a dessert table that incorporated our rustic, owl-inspired theme.

Since the colors were turquoise and lime green I initially struggled with what I should make for the desserts, but finally decided upon doing a variation of my red velvet cupcakes (with a different colored food dye, of course), mini key lime pies and some s'mores bars. I'd never made key lime pie before but was delighted to discover how easy it was to make. Its definitely something foolproof that you can whip up in just a few minutes (if you use pre-made crust) that also tastes wonderful.

For the decor I bought a bunch of burlap that I used to make a table runner, some fabric bunting and to line a frame that I used as a mock menu (I wrote with liquid chalk on the glass). I also found some wooden slabs at Michael's that I used to display the key lime pies on, and then used some of my miscellaneous cake stands and plates that I used for my wedding. All in all, I think it turned out pretty well although I would recommend some modifications to the recipes (see below). Happy Baking!


The Recipes 

Blue velvet cupcakes: I just used my standard red velvet cupcake recipe, omitted the red food dye (obviously) and used about 25 or so drops of neon blue food dye (it comes in a package with other neon colors). While I was going for a darker aqua color, they turned out a smidgen darker than I anticipated. I guess I'm used to being a little heavy handed with the red food dye, and didn't think that the neon colors would be so concentrated. The other option I thought would be to replace the cocoa powder with white chocolate powder which would result in a different flavor, but a brighter colored cupcake. 

S'mores Bars: You can find the recipe here, but I recommend omitting the cocoa pebbles. They were tasty, but I think they would be considerably better without. It almost gave it a coconut flavor and texture that I wasn't a big fan of. I also thought that mixing Fluff (ie marshmallow cream) or Nutella into the chocolate would be pretty divine as well. 

Mini Key Lime Pies: I used this recipe from Emeril Lagasse and simply put the filling into mini pre-made graham cracker crusts. It was not only one of the easiest things I have ever made, but one of the best key lime pies I've ever had. I purchased key lime juice (not regular lime juice) since I didn't know where to buy key limes, nor did I feel like squeezing a ton of them. I did add a teeny-tiny bit of lime green food coloring to the filling to give it some more pop for pictures. I didn't bother making the topping with sour cream, but I'm sure its quite good as well from all of the positive reviews the recipe has.

Invitations: Tiny Prints
Owl cake toppers: The Paige Spot on etsy